
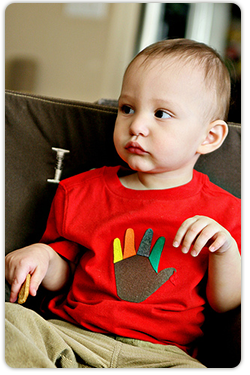
 Handprint turkey crafts for Thanksgiving are as common as cranberries and pumpkin pie. Here’s a simple DIY t-shirt project from http://seevanessacraft.com/2011/11/diy-tutorial-turkey-handprint-shirt-2/#. You can share the hand tracing portion with your child, but save the cutting and ironing for the adults just to be safe. As an added bonus, you can find the t-shirt and other items at Goodwill!
Thanksgiving just isn’t complete without a handprint turkey. I turned Logan’s little hand into a felt turkey and ironed it on to a shirt that he can wear for the turkey eating festivities. The hardest part of this project was getting a 16 month old to sit still long enough to trace his hand. I plan on cutting out the little turkey and framing it, to be used in my Thanksgiving decorating next year. Happy Turkey Day!
Materials
Shirt
Heat-n-Bond No Sew Iron On Adhesive
6 Pieces of Different Colored Felt (large enough to fit a tiny handprint)
Scissors
Pen or Pencil
1 Piece of Cardstock
Iron
Directions
Step 1: Trace your little one’s handprint on a piece of cardstock. Cut out the handprint.
Step 2: Iron a small piece (big enough for a handprint) of no sew Heat-n-Bond onto the 6 pieces of felt.
Step 3: Trace the entire handprint onto the Heat-n-Bond backing of the piece of felt that you want to use for the turkey’s body. I used a brown piece of felt for the body.
Step 4: Trace each finger (except the thumb) onto the Heat-n-Bond backing of 4 different colors of felt. Each finger will get a different color of felt. Cut out the fingers.
Step 5: Cut a wattle (that wobbly red thing on the turkey’s neck) out of the remaining piece of felt that you adhered Heat-n-Bond to.
Step 6: Iron the whole handprint onto the shirt. Next, iron on each individual finger and the wattle.
Step 7: Place shirt on child and enjoy your turkey!
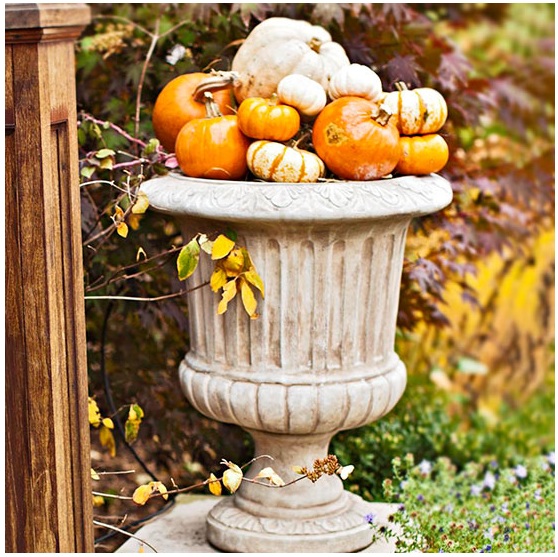 Fall outdoor decorating is in full swing. Ease your stress and keep it simple with this Pumpkin Planter idea, from Better Homes and Gardens. Accomplished in minutes, this solution will provide a nice touch from Halloween to Thanksgiving.
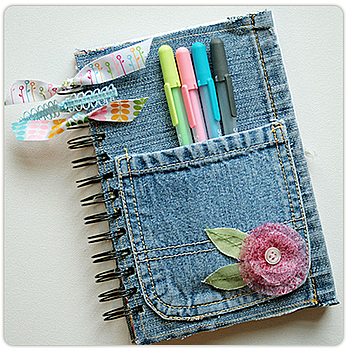 September means its back to school time and stocking up on denim jeans at great prices from the nearest Goodwill Store & Donation Center. Grab an extra pair and try this cute denim journal project, from Lifemadecreations.com.
 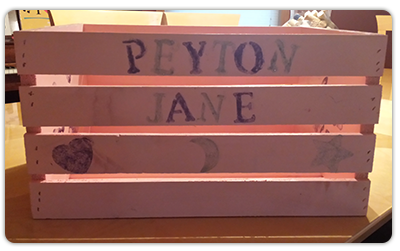 By Jamie Klinger-Krebs
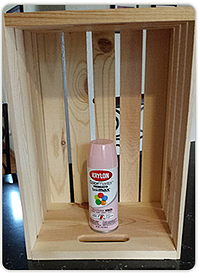
 Here’s what we did:
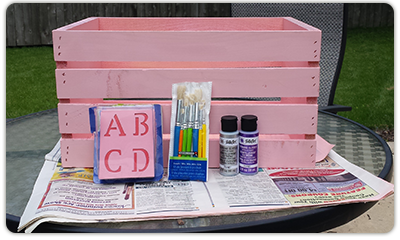
 Next, I purchased some pink spray paint (make sure it’s the type that can be used on wood), basic stencils and glitter paint for adding our own personal touch. Note: The glitter paint didn’t quite show up as dark as I’d hoped, but we made it work.
 We love old vinyl record album covers. You can pick them up for next to nothing at garage sales, thrift stores or in someone’s basement (make sure you know them first, though). This is an easy project, and it makes a perfect gift. We found an album for 50 cents and picked up a notebook at our craft store in the .99 bin. Here’s how we did it. Good luck making your own!
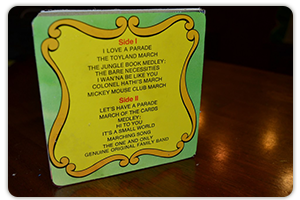
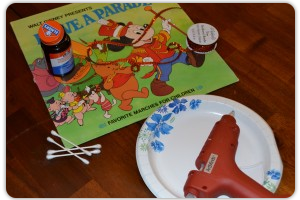 SUPPLIES
 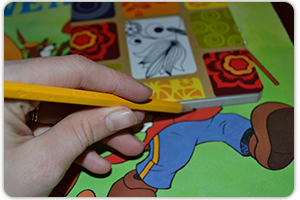 First off, you’ll want to trace the notebook shape onto the backside of the album with a pencil. Repeat for the back and also for the spine of the book if it has one.
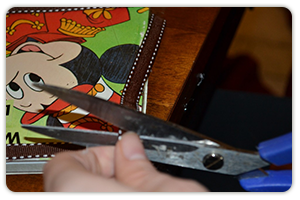
 Next, Cut out the shapes. Then glue all the pieces directly onto the notebook. Don’t worry if it’s not perfect! Once it’s glued down, use ribbon to decorate the edges and hide any imperfections. We used ribbon here, but you could also use sequens, feathers or anything else to dress it up.
 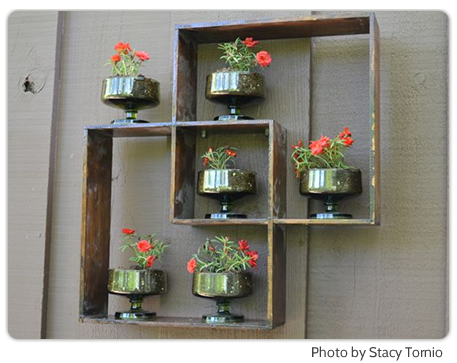 This is a simple project inspired from another Goodwill find. Look for an old shelf like this one. You can either paint it or leave it as is. Then pick up some inexpensive bowls or glasses at Goodwill to use as miniature containers. You can look for something that matches like I did here or you can mix and match. If you do mix and match, different colors and shapes of teacups would be a great way to do this.
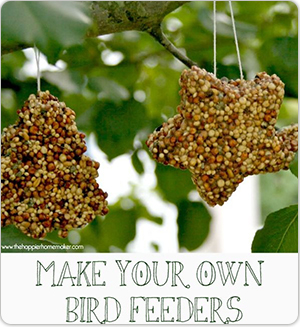 February is National Wild Bird Feeding Month
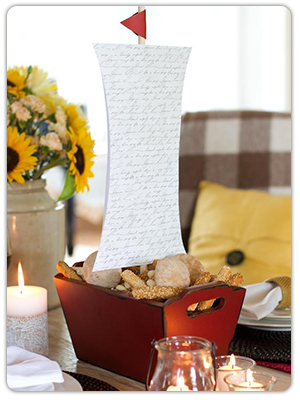 Kids will love helping to make this large sailing ship centerpiece, which is reminiscent of the vessels that brought colonists to the new world. It's a cinch to make and will definitely bring a boat-load of fun to any Thanksgiving table.
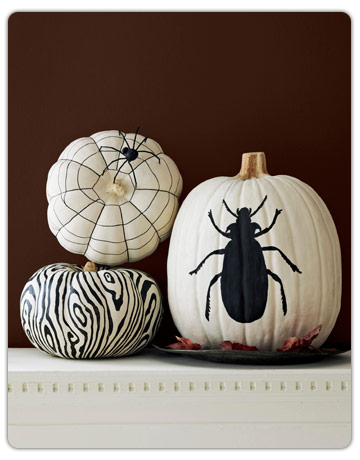 Savannah stylist Liz Demos skipped the carving knife and went straight for a paintbrush to fashion these graphic pumpkins. "With a stark black-and-white palette," Demos says of her trio of bold designs, "you can make any pattern, even creepy insects, look downright chic."
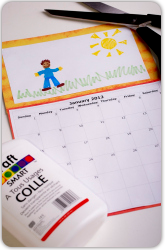 Get fired up for the new school year with a “Back-to-School Calendar" you and your child can make at home. It's a great way to get those wheels turning again as the school year starts up, while helping your child develop important organization skills that will help her throughout the years to come, both in and out of school! You and your child can pencil-in important dates and events for the school year, keep track of when assignments are due and impress the teacher prepared with how prepared you are. This is a tool you'll use throughout the whole year and it may even become a back to school tradition in your family!


