Be sure to read Bjorn's weekly column for great advice. If you have specific questions send him an email at
 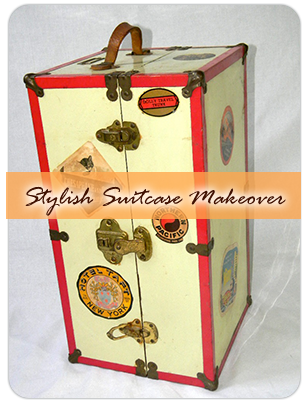 As any of you who read this column know, I love vintage fashion and accessories. The past speaks volumes. Not only about what we wore, but who we were as a society. That is the key to understanding current trends in fashion, many of which come directly from inspirations taken from the often-glamorous past. As part of our on-going reduce, reuse, and recycle mantra, this month I’m going to focus on the age of travel.
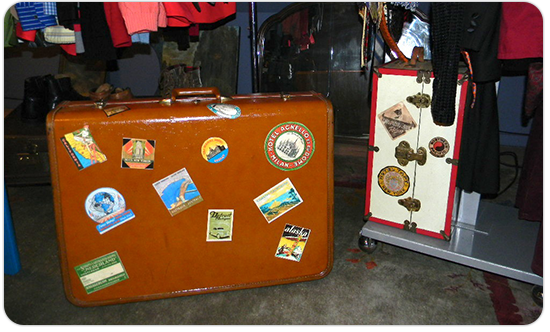
Whenever I see an old suitcase or steamer trunk, I immediately wonder where that person went, and how special their trip was. I found a small doll’s trunk many years ago at an antique store, and what made it really exceptional was all the old travel stickers and decals that were plastered all over it. It spoke to me of the era of excitement about travel. It was all about where people went and how they honored the memories of those special destinations with these little decals and stickers. I recently saw an old trunk in a home décor magazine that was used for storage and left out for all to see instead of being put away in a closet or attic. That is, until it took another trip. I loved the idea of doing one for my own home, where my storage is limited and my love of the past is inescapable!
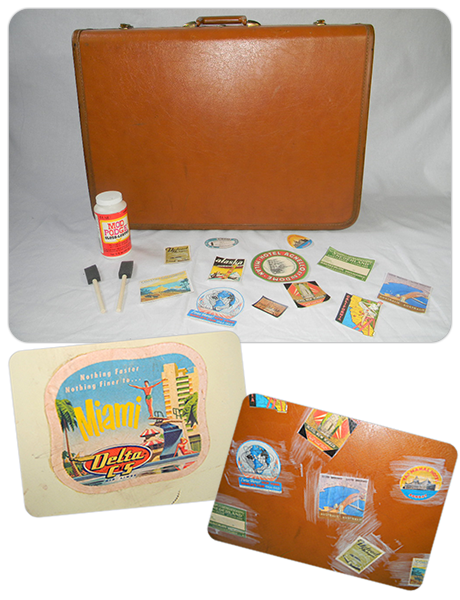
I found a vintage suitcase at Goodwill that was marked $6.99. To do this project, it’s best to look for what would be a smooth-sided suitcase that’s made of some sort of treated cardboard or paper. Use my photo as a guide to see what kind of suitcase will work best. An old trunk would also work well, as long as you can attach the decals to it easily.
 First, I cleaned the suitcase well with an all-purpose cleaner and let it dry.
Next, I did some research on the Internet and searched for pictures of vintage travel decals. There were so many that I had a hard time picking which images to save so that I could print them out later on my printer. Choose a variety of sizes, shapes, colors and subject matters. Keep in mind that you’ll probably have to resize the images on your computer before you print them out. It took me a little while to resize and print mine out on plain printer paper. Then I cut them out carefully. This is somewhat tedious, but I knew the end result would be totally worth it.
I just happened to have some Mod Podge decoupage medium in my studio. This works well to adhere the decal cut outs to the suitcase, as well as seal and preserve them on the finished product. Mod Podge is an inexpensive and easy-to-find product available at any craft or big-box store in your neighborhood.
Plan out where your decals should go before you start pasting them on your suitcase. Coat the back with a thin coating of the medium and smooth them down securely so there are no bubbles. Let dry for 30 minutes or more. Now add a second coat over the top and edges of each decal and let dry again. Lastly add a sealer coat over the whole surface of the suitcase and let dry completely. You can do more coats if you want to for added fortification if you wish.
Now simply place your “well-traveled” suitcase wherever you want to bring the lure and beauty of the past to your fashionable surroundings! I plan on using mine to store out-of-season clothing and accessories. Always remember that finding a new purpose and beauty in something not only helps stir your creative instincts, but also helps the planet to boot! It’s as easy as shopping at the Goodwill Store in your neighborhood and finding something you can transform into something unique and amazing!