
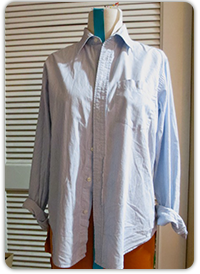
 If this summer has you feeling hot under the collar, try this easy summer top made from a button down purchased at Goodwill.
 You will need:
- Button front shirt from Goodwill
- Contrasting fabric from another shirt, skirt, or from the fabric bin at Goodwill
- Optional: Interfacing (if your fabric is thin), ribbon trim, buttons
- Pins
- Thread
- An iron (Goodwill has many!)
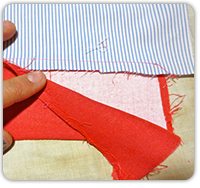
First cut a straight line through 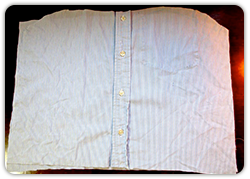 your button down just under the arms. Then cut the side seams and trim them so the two pieces fit comfortably around
 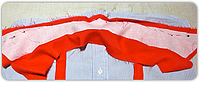 your chest with an extra inch for seam allowance (I also trimmed the lower edge to make a shorter top, but you may want to keep the bottom edge - this will make
your project even simpler.)
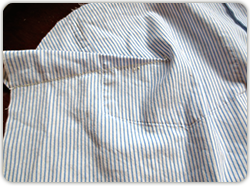
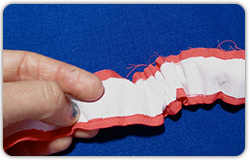
 Next, in front of a mirror, hold the front piece against you and pin in small darts on the sides so that it fits comfortably around your bust (these are pinned on the wrong side of the shirt).
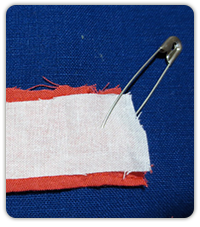
Next, cut two long (long enough for two straps) thin rectangles from your contrasting fabric and sew them together along the edges with the right sides together. (Here, I’m using white interfacing because this red fabric is soft.)
 Next attach a safety pin to one layer, and pull it back through the opening of the straps to turn them right side out.
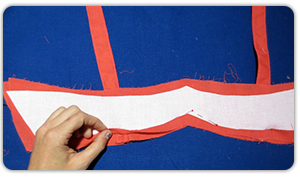
You will also need to cut out the front band of your top. Cut two identical pieces that are as long as your front shirt piece and one-and-half-to-three inches wide. Make a small scallop in the center for a sweetheart neckline.
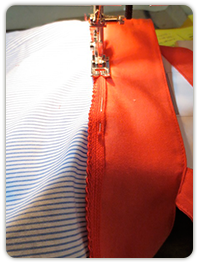
 With right sides together, and straps pinned to the inside, stitch the top edge of your contrast band together.
Turn inside out and press with an iron.
Now to the back of the shirt: cut two rectangles the same length as the back of your shirt and as wide as the front band (one-and-half-to-three inches). Sew these two pieces together along the top edge and then flip right side out and press. Sew one of the bottom edges to the top edge of your shirt back. Fold under the edge of the free rectangle and stitch it on top of the seam to cover the raw edge.
 Next you will attach the front of the shirt to the back with the right sides together, by sewing straight up the side seams.
You can now try on your shirt and determine the length of the straps. Just mark them and sew them to the inside of the shirt back. If you would like, you can add trim, new buttons or any other additions. Finally, sew under the hem and you’re done!
 Goodwill makes it easy to look good and do good at the same time. Go browsing this week to find inspiration for this project or many others and you’ll feel great knowing that your Goodwill purchases help support your local community.


