
 If you liked the Sharpie® dyeing project, you’ll probably enjoy this low cost fabric dyeing method too. With foam shaving cream and paint you can make beautifully marbled fabric patterns that would be much more expensive if done the traditional way.
Marbling developed in Japan and Turkey as a decorative method where inks are suspended on the surface of water and paper or fabric is laid on top to capture the image held on the water’s surface.
You can achieve similarly beautiful results with the technique below, plus it’s a fun project to do with children or your younger siblings.
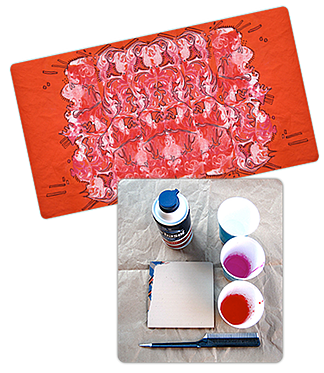
First go to Goodwill and pick out a simple table runner, napkins, shirt, or whatever else you might want to marble. The colors typically turn out best on white fabrics, but you can see how they turned out on this red table runner I picked out for Thanksgiving.
 You will also need:
- Foam shaving cream
- Fabric paints (or watered down acrylics will work if you don’t intend to wear it)
- Squeegee or plastic card
- Bucket filled with water
- Combs or forks from Goodwill to make designs with
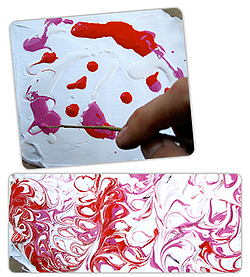
 First, spread out a half inch layer of shaving cream onto your work surface. Work out any air pockets until you have a smooth layer. Then add drops of fabric ink or paint, I used white paint for contrast on the fabric, but use at least three colors for more interesting effects. Next use a comb or fork
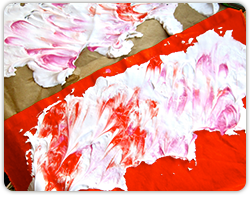
 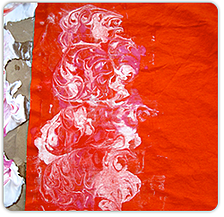 to drag through the foam to make designs. Once you have a design you like, lay your fabric on top and gently rub over the back of the fabric to transfer the design (don’t press too hard!). Carefully lift up the fabric and flip it over onto your work surface. Now use your squeegee to remove the extra ink and shaving cream. Rinse your squeegee in water after each pass to avoid smearing the ink.
Once the ink dries heat set it with your iron (covering it with a protective cloth first). Then play with your design. Consider outlining it with fabric markers or cutting up swatches and sewing them back together to make a kaleidoscopic tapestry. This would also make for a great Thanksgiving table runner.


