
By Jessica Schoner, Interactive Media Coordinator, Goodwill Industries of Southeastern Wisconsin & Metropolitan Chicago
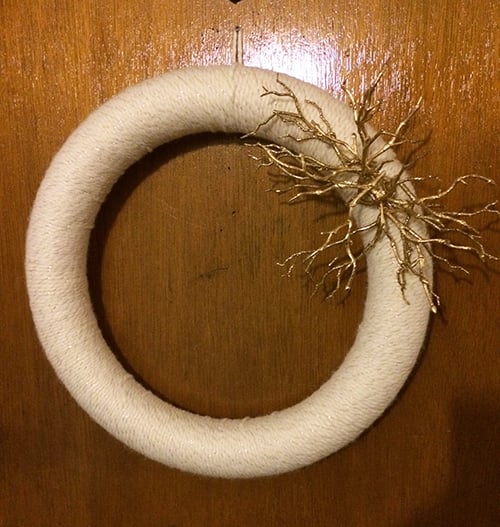
Now I can’t take credit for being the first person to think of wrapping yarn around a Styrofoam wreath but, I must say, this is my go-to craft every winter! Why do I make one every year you ask? First of all, it’s easy and inexpensive (and a rather relaxing process if you ask me). Second, I like changing up my holiday color scheme every year. Since this craft is so easy to do, I feel compelled to make a new one every year to match my colors. Last year I rocked the traditional green and red theme, but this year I’ve gone for a glittery cream and gold look! One of the best parts about this project is that you can completely customize it to your current colors/theme – so have fun with it!
Supplies:
From Goodwill:
- Styrofoam wreath – I was thrilled to find one at my local Goodwill Store & Donation Center! If you’re not able to locate one, your local craft store will also sell them.
From the craft store:
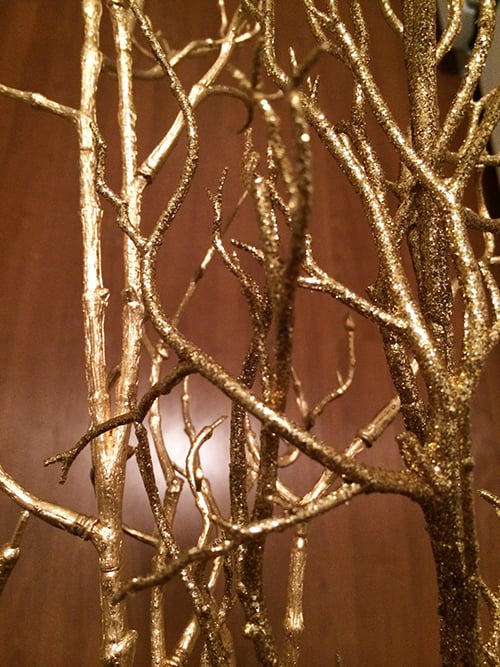
- Gold branches – I used both glittery ones and simple gold painted ones. If you don’t want to use branches, you could also look for small ornaments, berry branches or feathers. Like I said before; have fun with it!
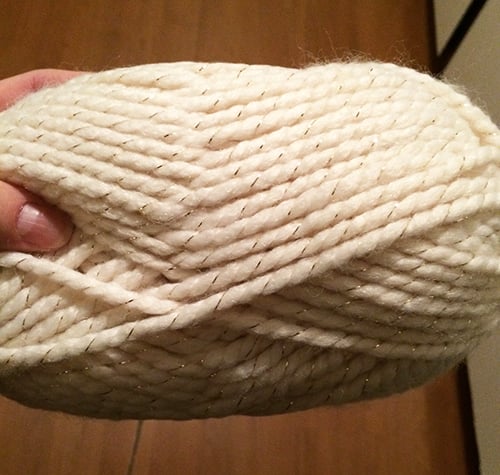
- Wool yarn. I like the softness that wool yarn gives the wreath. Just remember, the thinner the yarn, the more times you will need to wrap it around the wreath! To stick to my cream/gold color theme, I found a cream yarn with gold accents. Look for any colors that complement the look you’re going for.
From home:
- Hot glue gun and 1-2 glue gun sticks. These are both available at the craft store if you don’t already own them.
- Scissors

Instructions:
Step One: Place a small dab of glue from your hot glue gun on the top portion of your wreath, and secure the end of your yarn to the wreath. Tip: do not cut a pre-measured length of yarn from your yarn ball; pulling yarn straight from the ball prevents tangles and allows for less hot gluing!
Step Two: Once your first strand is secure on the Styrofoam (the glue takes less than a minute to dry), you can begin wrapping your yarn around wreath. As you wrap the yarn, make sure the strands line up right next to one another. Pull the yarn slightly as you circle it around, to ensure it fits snugly and doesn’t slide. You’ll continue this until you’ve worked your way around the entire wreath. (This repetitive motion is the relaxing part I was talking about above. I can just watch TV or listen to music while I do it!)
Step Three: Once you’ve reached your “starting point” on the wreath, cut the yarn and hot glue it securely to the wreath. I’m not the most coordinated and patient with hot glue, so I try to keep my hot gluing to the “back” of the piece (the side that will face the door) – that way I can get a little messy if necessary.
Step Four: Cut a 2-3 inch piece of yarn and form a loop with it. Hot glue this loop to the back of your wreath. This allows your wreath to be hung.
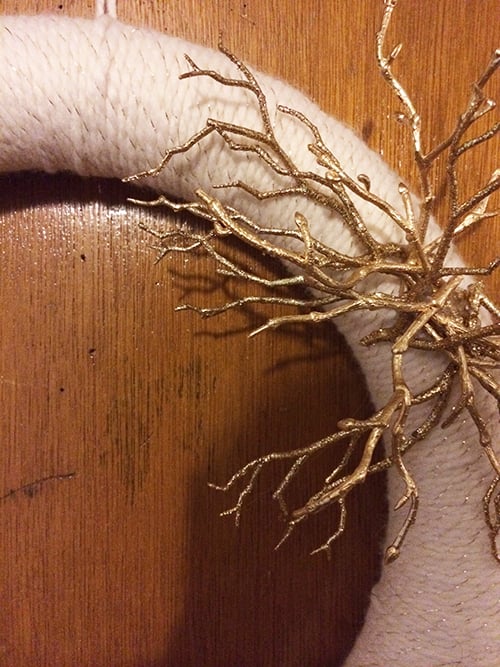
Step Five: While your hot glue is getting a chance to settle and dry, use your scissors to cut small 4-6 inch long) pieces off of the branches/decorative pieces. I like to designate the upper right side of my wreath to being accessorized, but if you want to decorate other areas of your wreath, by all means, go for it! One by one, you’ll hot glue anywhere between 5-10 pieces of the decorative pieces to the wreath. Because these are a tad more delicate, I recommend leaving your wreath flat overnight to dry. By morning, your new wreath is ready to hang!


