By Jessica Schoner - Interactive Media Coordinator, Goodwill Industries of Southeastern Wisconsin & Metropolitan Chicago
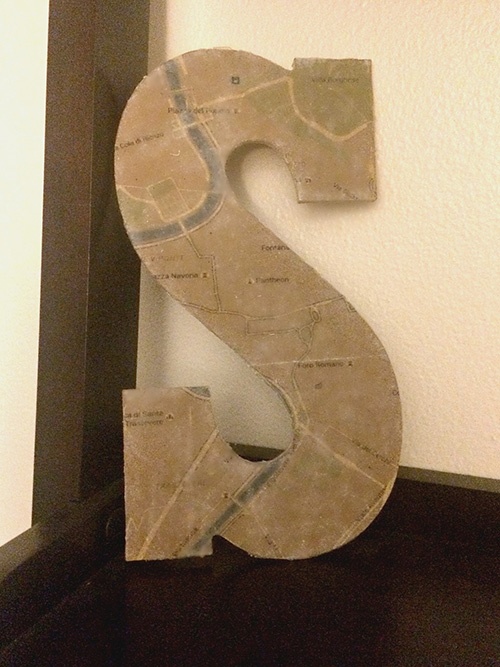
Letters as décor are taking over the home décor world. I absolutely love the personalized aspect that these pieces bring. I decided to take it up a notch, and add a custom map to my letter. You guys – once you see how easy it is to transfer photos onto materials, you’ll be doing it all the time!
My husband and I became engaged in Rome, so I thought a Rome map would be fun for us. If you’d prefer to do a photo, instead of a map, that works too. Maps definitely add for a conversation piece in the house, though!
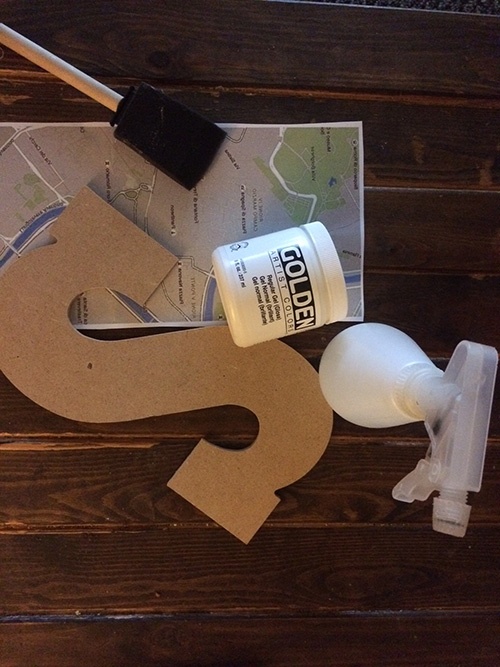
Materials:
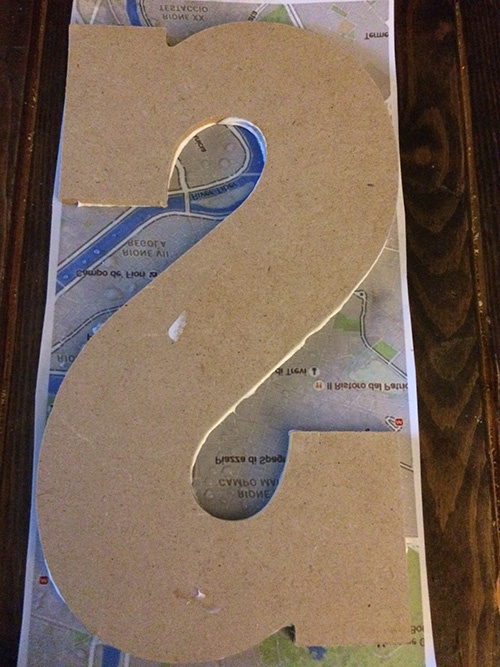
- Wooden or canvas letter
- Gel medium – gloss
- Spray bottle with water
- Foam paintbrush
- Regular printer paper
Make it:
You’ll want to start by making your map. A simple online search will help you find a map of your favorite place. A key to success for your map is making sure you reverse the image of it before printing. (Many free online programs can take care of this for you). You want to reverse the image, so that wording and images transfer over facing the correct way. You’ll see why as we proceed!
Print your image out so that it is large enough to cover the entire size of your letter. Be sure to print on regular, plain paper.
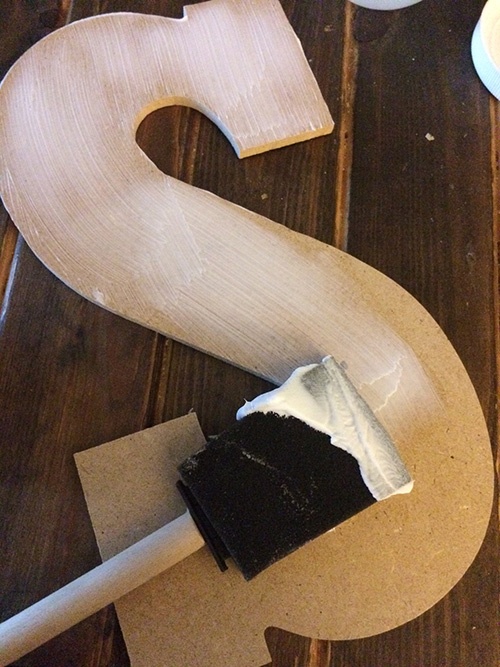
Using your foam paintbrush spread an even layer of gel medium onto your wood/canvas letter. You don’t want it too thick – just enough to be visible.
Spray the map side of your paper with your water. You’ll want it visibly wet, but not so wet that it tears.
Lay your map, face down, on top of your letter. Gently, smooth the paper down over the wood/canvas, to remove any air bubbles that may have formed.
Allow to dry completely overnight.
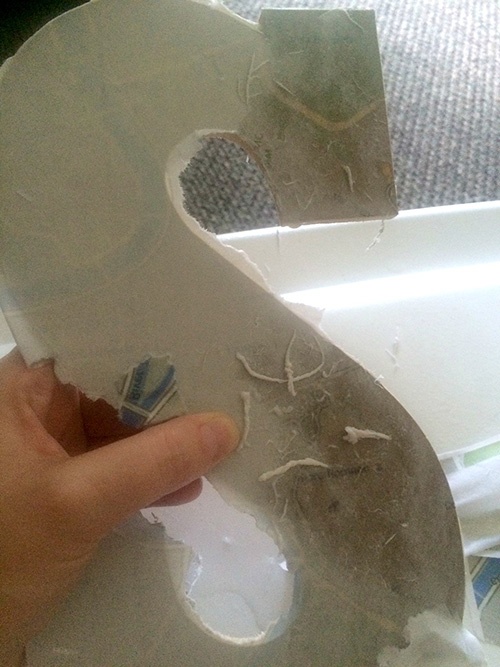
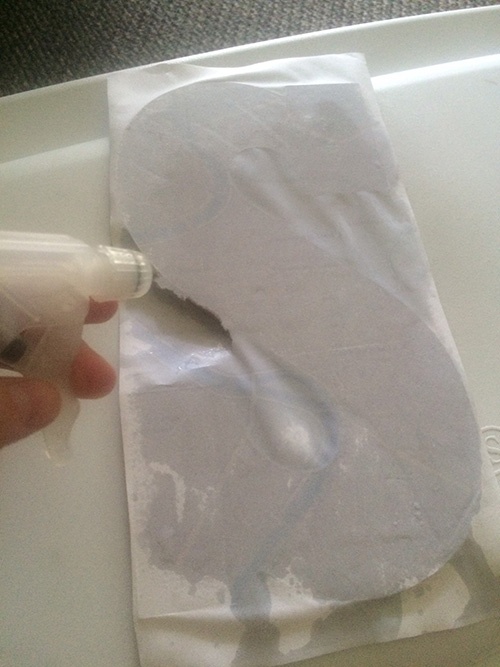
Once completely dry, spray the paper until fully saturated.
Using your thumbs, begin rubbing and peeling off the paper from the wood/canvas. Spray more water as needed, to loosen up the paper.
Allow to dry.
Once dry, you’ll be able to see if any layers of paper still remain. If so, repeat steps 8 and 9 until fully removed.
To seal in the map, finish your piece by adding a thin layer of gel medium to the map, and allowing to dry.